First login and workspace setup
Use this guide after deploying a tested instance. The current Railway template is not published or verified, so these steps do not imply a working Marketplace deployment. Start with the release status and the Railway deployment guide.
1. Sign in to the workspace
- In Railway, open the
clouddev-ideservice and find its generated HTTPS domain under Settings → Networking. - Open that domain in a browser. If the sign-in page asks for the workspace password, use the generated
CODE_SERVER_PASSWORDfrom the deployment inputs. It is not a default password. - Save the password in a password manager. Do not paste it into a terminal, chat, Git issue, or repository. After first access, seal the Railway variable if the variable inventory says it can be sealed.
- The launchpad opens with service health, desktop connection details, and first-run steps. CloudCLI, Forgejo, and OmniRoute keep separate accounts. Workspace sign-in does not sign you in to those services.
The launchpad screenshots below are captures from the local build. They show the actual service cards, not a Railway deployment.
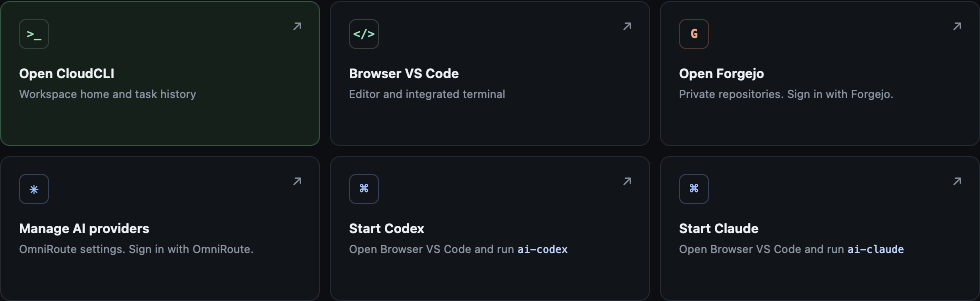
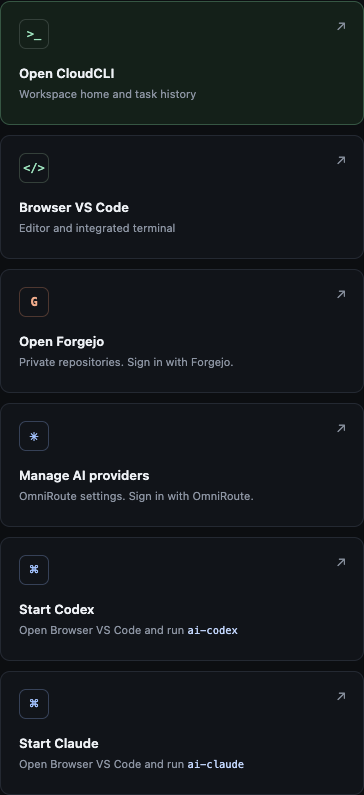
2. Create the CloudCLI account
- On the launchpad, click Open CloudCLI.
- Create the single local CloudCLI account when its first-run screen asks you to. Keep its login separate from the workspace password.
- Return to the launchpad after setup. CloudCLI holds the mobile-first workspace home and provider session history.
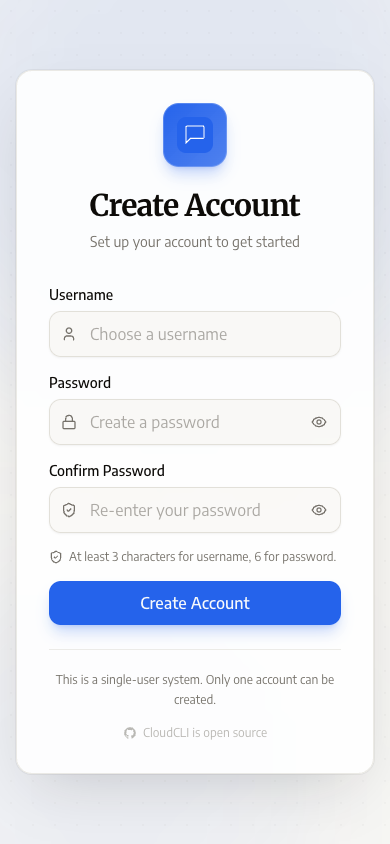
The launchpad shortcut is not a shared sign-on service. CloudCLI, Forgejo, and OmniRoute have their own authentication.
3. Set up Forgejo for Git
- Click Open Forgejo and sign in with the generated bootstrap administrator account listed in the Railway variable guide.
- Change the bootstrap password. Create a regular, non-admin account for normal repository work and create a private repository.
- In Browser VS Code, open Terminal → New Terminal and run:
git-setup
- Copy the public key printed by
git-setup. In Forgejo, sign in as the regular user and add that public key to the account's SSH keys. - Keep the private key in the persistent workspace home. Do not use an administrator token or add it to the agent's environment.
If the generated bootstrap password is no longer available, use the documented Forgejo recovery procedure. Do not expose the administrator token to the workspace to work around a missing password.
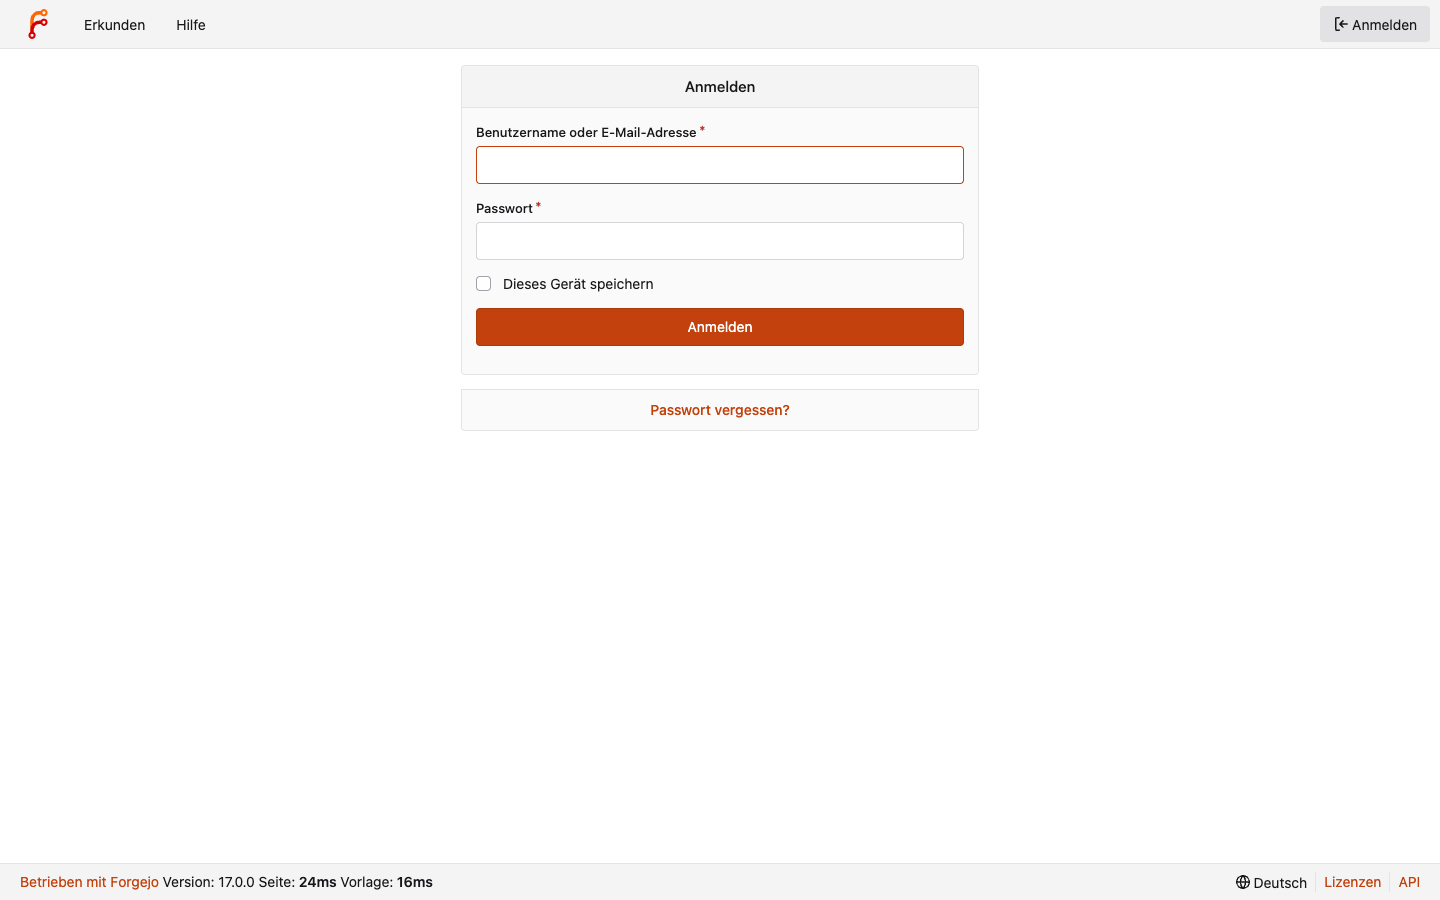
4. Add a provider in OmniRoute
- Return to the launchpad and click Manage AI providers.
- Sign in to OmniRoute with its generated bootstrap password. Change that password before adding provider credentials.
- In OmniRoute's authenticated dashboard, add a provider account using its documented integration. Provider credentials belong here, not in the Railway template or workspace environment.
- Create an inference key with only the model access needed by this workspace. Keep the provider master key in OmniRoute.
The list of providers and models depends on the pinned OmniRoute release and the provider account. CloudDev does not package provider keys or promise that every model supports both agents.
5. Connect the agent CLIs
- Click Browser VS Code, then choose Terminal → New Terminal.
- Run
ai-setup. Enter the internal OmniRoute URL if it is not already filled in. When prompted for an inference key, paste the scoped key, not an OmniRoute administrator key or provider master key. The input is hidden. The command saves it in the persistent home with restricted file permissions. - Choose only models shown by the live model list. Run
ai-statusto check the gateway andai-modelsto list models the scoped key can use. - Restart the workspace if
ai-setuptells you to, so CloudCLI loads the restricted inference configuration. - Start a task with
ai-codexorai-claudefrom an interactive terminal. Do not start a paid provider request until you have checked the provider's current billing and usage terms.
6. Create or open a project
Keep Git checkouts under /workspace/projects. Clone the private repository using the workspace Git identity, or create a repository in Forgejo and add its remote. Review repository instructions and scripts before running them. The agent shares the workspace user's file access and can make outbound connections.
If the first run does not work
- A service card is unavailable: select Refresh in the launchpad's System health section, then review troubleshooting.
- Forgejo rejects a push: check that
git-setupcreated the workspace key and that its public half belongs to the regular Forgejo account. - No models appear: add a provider or update the scoped key's allowed models in OmniRoute, then rerun
ai-modelsandai-setup. - An old task is interrupted: review it in CloudCLI and resume only when the provider exposes a supported action. A workspace restart cannot restart the old in-memory process.
See connect the clients for desktop, browser, and phone access.